Potatoes are one of the most versatile and rewarding crops you can grow in your garden. While traditional potato farming often requires large plots of land, grow bags provide an innovative and space-saving solution to plant potatoes in small spaces like balconies, patios, or even indoors. If you’re wondering how to plant potatoes in a grow bag, you’re in the right place.
In this comprehensive guide, we will walk you through everything you need to know about growing potatoes in a grow bag, including the benefits, preparation, care tips, harvesting, and troubleshooting common problems. Whether you’re a novice gardener or an experienced green thumb looking to optimize your potato-growing methods, this post has got you covered.
1. Benefits of Using a Grow Bag for Potatoes
Before you dive into the specifics of planting and caring for potatoes in grow bags, it’s essential to understand the advantages of using grow bags as opposed to traditional planting methods. Here are some key reasons why growing potatoes in grow bags is a great option:
Space-Saving Solution
If you’re limited on space, growing potatoes in grow bags is an excellent choice. Many people live in urban environments with small gardens, balconies, or even no garden space at all. Grow bags allow you to grow potatoes in compact spaces without the need for a large, traditional garden bed. They fit well on patios, decks, balconies, or even inside your home near a sunny window.
Great for Small and Urban Gardens
Potatoes are typically grown in the ground, which requires ample space. However, with a grow bag, you can have a productive potato patch in a very small area. Urban gardeners or those with limited yard space will appreciate the convenience and efficiency of growing potatoes in containers.
Better Drainage
Grow bags are designed to improve airflow and drainage. Unlike traditional plastic containers, which can trap moisture and cause root rot, grow bags provide excellent drainage and prevent water from pooling around the roots. This ensures that your potatoes don’t get waterlogged and helps them grow strong and healthy.
Easier Harvesting
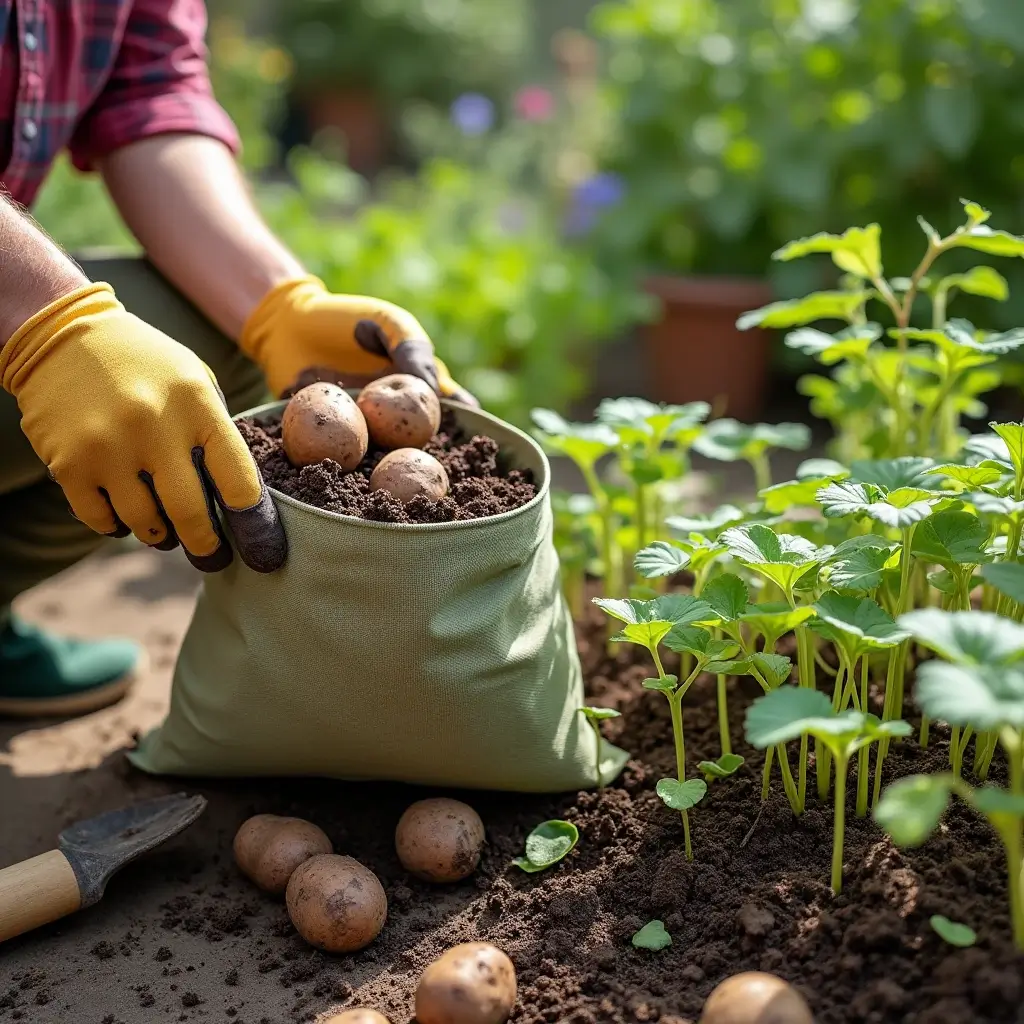
Harvesting potatoes from a grow bag is easier than digging them out of the ground. Once your potatoes are mature, you simply need to lift the grow bag, and you’ll have access to all the potatoes inside. This eliminates the need for digging through soil, which can be difficult, especially in hard or compacted ground.
Reduced Pest Problems
When potatoes are planted in the ground, they can be susceptible to pests like the Colorado potato beetle, aphids, and slugs. Growing potatoes in a grow bag can help reduce the likelihood of these pests since the bags are elevated off the ground and easier to monitor and protect.
2. Choosing the Right Grow Bag for Potatoes

Selecting the right grow bag is crucial for the health and productivity of your potato plants. Here’s what you need to consider:
Size Matters
The size of the grow bag plays a significant role in the success of your potato harvest. For growing potatoes, a grow bag that holds between 10 to 20 gallons of soil is ideal. This size gives your potatoes enough space to grow and develop strong root systems. Larger bags will allow for more potatoes, but they might be more challenging to handle.
Material of the Bag
Grow bags are typically made from fabric or plastic. Fabric grow bags are the preferred choice for many gardeners because they allow for excellent air circulation around the roots. This helps prevent the roots from becoming root-bound and encourages strong, healthy growth. Fabric bags also offer better drainage compared to plastic ones.
Plastic grow bags are a cheaper option, but they can sometimes trap too much moisture and lead to root rot if not properly monitored. Therefore, if you’re serious about growing potatoes in a grow bag, fabric bags are worth the investment.
Drainage Holes
While most grow bags provide good drainage, it’s essential to check that the bag has plenty of holes to allow excess water to escape. If the bag doesn’t drain well, it could lead to soggy soil and rotting potatoes. Look for grow bags with perforations or slits along the sides and bottom to ensure proper drainage.
Recommended Brands
There are numerous brands that produce high-quality grow bags. Some popular options include:
- Smart Pots: Known for their breathable fabric and high-quality construction, Smart Pots are an excellent choice for growing potatoes.
- Vivosun: Offers a variety of durable and affordable grow bags with good drainage.
- Gardener’s Supply Company: A trusted gardening supply retailer that offers top-notch fabric grow bags specifically designed for potatoes.
3. Preparing the Grow Bag for Planting Potatoes
Once you’ve chosen your grow bag, it’s time to prepare it for planting. Here are the steps to set up your grow bag for a successful potato crop:
Choosing the Right Location
Potatoes need plenty of sunlight to grow, so choose a sunny spot to place your grow bag. Ideally, your potato grow bag should receive at least 6 hours of direct sunlight each day. If you’re growing potatoes indoors, place the bag near a south-facing window to maximize sunlight exposure.
Soil Preparation
The key to growing healthy potatoes is having the right soil. Potatoes prefer well-draining, loamy soil that is rich in organic matter. You can create the perfect soil mix by combining:
- 60% loamy soil
- 30% compost
- 10% organic potting mix
This mixture provides a good balance of nutrients, aeration, and drainage, which will help your potatoes thrive in the grow bag. Avoid using heavy clay soils or soil that retains too much moisture, as this can lead to root rot.
Filling the Grow Bag
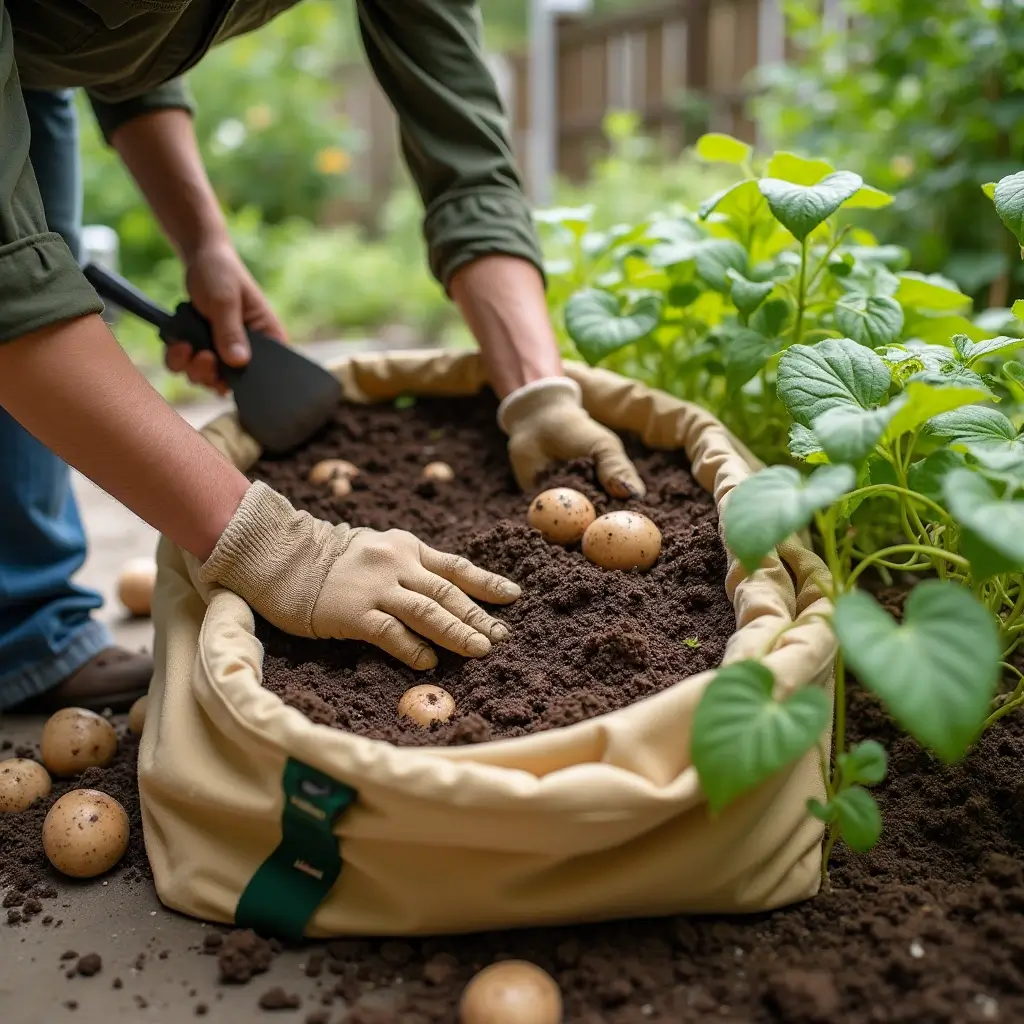
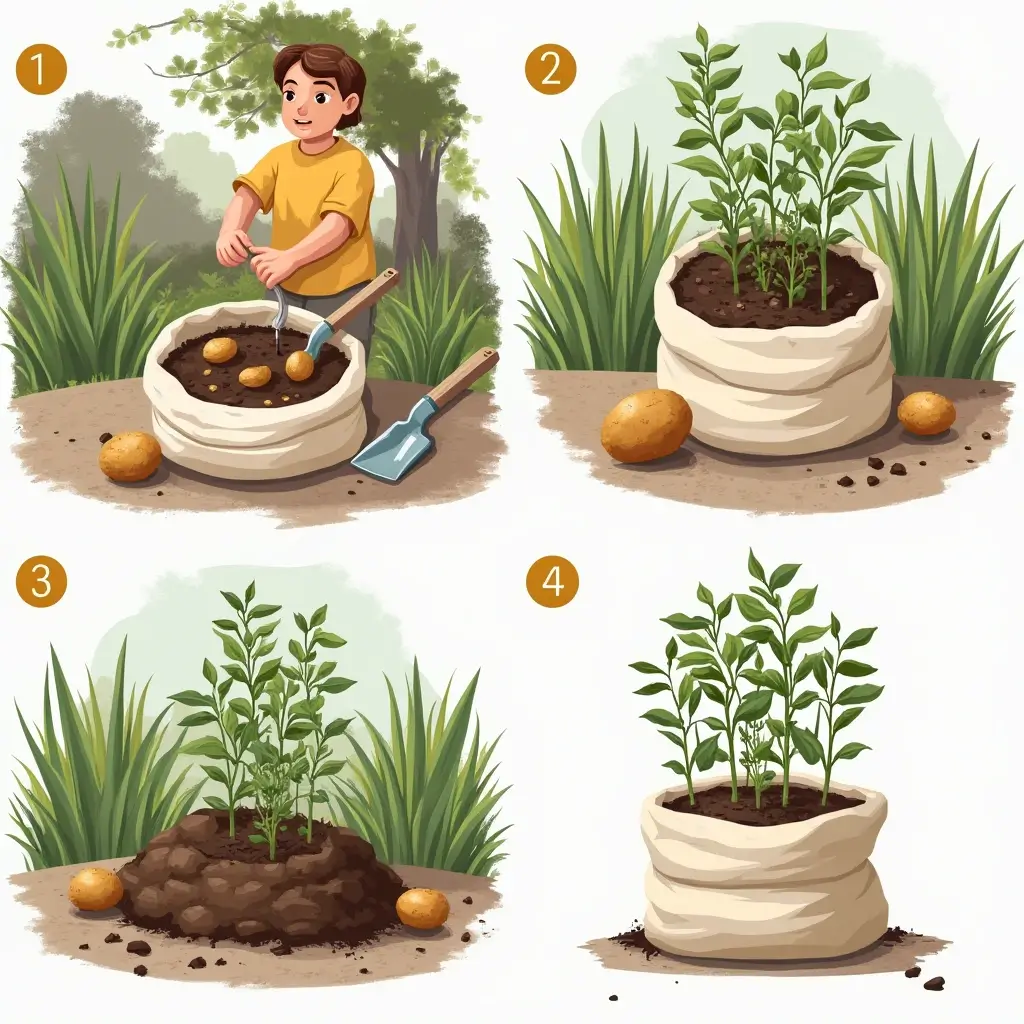
Start by adding a few inches of soil at the bottom of the grow bag. Then, place your seed potatoes (explained in the next section) on top of the soil. After that, cover the potatoes with another few inches of soil, leaving room to add more soil as the plants grow. You will need to top up the soil a few times as the potato plants grow taller and start to produce shoots.
4. Planting Your Potatoes in the Grow Bag
Planting potatoes in a grow bag is straightforward, but following the correct method will ensure your plants have the best chance of success. Here’s a step-by-step guide to planting potatoes in a grow bag:
Step 1: Prepare Your Seed Potatoes
Before planting, you need to prepare your seed potatoes. Choose high-quality seed potatoes such as Yukon Gold, Red Pontiac, or Russet for the best results. You can also experiment with specialty varieties like Purple Majesty or Fingerling potatoes.
Cut larger potatoes into smaller pieces, ensuring each piece has at least one “eye” (a small sprout). Allow the cut pieces to dry for 1-2 days before planting to reduce the risk of rot.
Step 2: Fill the Grow Bag with Soil
Add about 4-6 inches of soil at the bottom of the grow bag. This will be the base layer for your potatoes to grow. Ensure that the soil is loose and well-drained to allow the roots to spread easily.
Step 3: Place the Seed Potatoes
Place your prepared seed potatoes in the soil, ensuring that the sprouts are facing upwards. Space the potatoes about 6-8 inches apart within the grow bag. If you’re planting multiple seed potatoes in a single grow bag, stagger them so they have enough space to develop properly.
Step 4: Cover the Seed Potatoes
Once your seed potatoes are in place, cover them with another layer of soil (about 4-6 inches). Gently press the soil down to ensure the potatoes are securely planted.
Step 5: Watering
Water your potato grow bag thoroughly after planting. Ensure the soil is moist but not waterlogged. Potatoes need consistent moisture to grow, so check the soil regularly and water as needed.

5. Caring for Potatoes in a Grow Bag
Once your potatoes are planted, it’s time to care for them properly. Here’s what you need to do to ensure they thrive:
Watering
Potatoes need a steady supply of moisture to grow successfully. Water your potatoes regularly, especially during dry spells, but avoid overwatering. Too much water can lead to root rot, while too little can cause the potatoes to become small and underdeveloped.
The best way to check if your potatoes need water is by sticking your finger into the soil. If it feels dry a couple of inches down, it’s time to water.
Fertilizing
Potatoes are heavy feeders and benefit from regular fertilizing. You can use organic fertilizers like compost or fish emulsion to provide essential nutrients. Apply fertilizer every few weeks, especially when the plants begin to flower. Avoid chemical fertilizers, as they can harm the environment and the health of your potatoes.
Pest Management
Pests like aphids, slugs, and Colorado potato beetles are common threats to potato plants. To protect your potatoes, use organic pest control methods, such as introducing natural predators (e.g., ladybugs) or using neem oil. Check your plants regularly for signs of pest damage, like holes in the leaves or wilting.
Hilling Potatoes
Hilling is the process of mounding soil around the base of your potato plants as they grow. This encourages more tubers to develop and helps keep the potatoes covered, preventing them from turning green and inedible. As your potato plants grow, add additional soil to the grow bag, covering the stems up to a few inches.
6. Harvesting Potatoes from a Grow Bag
Harvesting potatoes from a grow bag is one of the most rewarding aspects of growing them. Here’s how to do it:
When to Harvest
Potatoes are typically ready to harvest 10 to 12 weeks after planting, depending on the variety. Look for signs such as yellowing and dying leaves or the appearance of flowers on the plant. For new potatoes, you can harvest early, but for mature potatoes, wait until the plant has fully died back.
How to Harvest
To harvest your potatoes, simply tip the grow bag over or gently lift it to expose the soil. Dig through the soil carefully to collect your potatoes, being careful not to damage them. Harvesting from a grow bag is much easier than digging them up from the ground.
Post-Harvest Storage
Once harvested, allow the potatoes to cure in a cool, dark place for a few days to toughen up their skins. After that, store them in a cool, dry place in a breathable bag or container. Avoid storing potatoes in direct sunlight, as this can cause them to sprout or turn green.
7. Troubleshooting Common Problems
Even with the best care, you may encounter a few issues when growing potatoes in a grow bag. Here are some common problems and solutions:
Yellowing Leaves
If your potato plants’ leaves turn yellow, it could be a sign of nutrient deficiency or overwatering. Ensure you’re providing enough fertilizer and check the soil for proper drainage.
Small or Misshapen Potatoes
If your potatoes are small or misshapen, it might be due to overcrowding or poor soil conditions. Make sure your grow bag is large enough for the number of potatoes you’re growing, and ensure you’re using good-quality soil.
Pests
As mentioned earlier, potatoes are vulnerable to various pests. Regularly inspect your plants for pests and use organic pest control methods to keep them at bay.
FAQs About Growing Potatoes in a Grow Bag
1. How many potatoes do you put in a grow bag?
The number of potatoes you plant in a grow bag depends on the size of the grow bag you’re using. Generally, for a 10-20 gallon grow bag, you can plant around 3 to 5 seed potatoes. If you’re using a larger grow bag, such as a 20-gallon bag, you may plant up to 5-7 seed potatoes. However, it’s important to ensure they are spaced at least 6-8 inches apart to give the plants enough room to grow and develop strong tubers. Crowding the potatoes too much could lead to smaller, less productive potatoes.
2. Can you layer potatoes in a grow bag?
Yes, you can layer potatoes in a grow bag using a technique known as “trench planting” or “layering”. This is especially helpful in larger grow bags. Here’s how it works:
- Start by placing a layer of soil at the bottom of the grow bag (around 4-6 inches).
- Plant the first layer of seed potatoes, ensuring the sprouts face up.
- Cover them with another 4-6 inches of soil, and as the potato plants grow, continue adding soil (this is called “hilling”).
- Repeat the process, layering the seed potatoes and soil as the plants grow taller. This encourages the growth of more potatoes along the buried stems.
Layering helps maximize your yield, as each additional layer of potatoes can produce its own set of tubers. It’s one of the great advantages of using grow bags for potatoes, allowing for more efficient use of space.
3. How long do potatoes take to grow in a bag?
Potatoes typically take about 10 to 12 weeks to grow in a grow bag, depending on the variety and growing conditions. The time to harvest can also vary based on factors like temperature, soil quality, and how much sunlight the grow bag receives. You will usually see the first signs of sprouting within 2-4 weeks of planting.
For new potatoes, you can begin harvesting as early as 8 weeks after planting, when the plants are still young and the potatoes are small. If you’re growing mature potatoes, wait until the plants have flowered, the foliage begins to yellow and die back, and the potatoes are fully formed. This can take up to 12 weeks or longer for certain varieties like Russet or Yukon Gold.
4. Do grow bags work well for potatoes?
Yes, grow bags work very well for potatoes! They offer several advantages that traditional planting methods in the ground may not:
- Better drainage: Grow bags allow excess water to drain, preventing waterlogging and root rot, which can be common issues in containers or poorly-drained soil.
- Aeration: The fabric material of most grow bags promotes air circulation around the roots, preventing them from becoming root-bound and promoting healthier, stronger plants.
- Space-saving: Grow bags are perfect for small spaces like balconies, patios, or even inside your home, allowing you to grow potatoes without needing a large garden bed.
- Easy harvesting: Harvesting from a grow bag is much easier than digging through the soil in a traditional garden. Simply lift the bag and carefully retrieve the potatoes.
- Reduced pest issues: Growing potatoes in a grow bag can help minimize common pests like the Colorado potato beetle, which can be more problematic in ground-grown potatoes.
Conclusion
Growing potatoes in a grow bag is an excellent way to maximize your harvest while minimizing space and effort. By following the steps in this guide, you can enjoy a bountiful crop of fresh potatoes right from your grow bag. Whether you’re a novice gardener or an experienced green thumb, growing potatoes in containers is a fun and rewarding experience.
Remember to choose the right grow bag, prepare the soil properly, care for your plants, and harvest at the right time. With these tips, you’ll be able to grow delicious, homegrown potatoes in no time.
Happy gardening!


