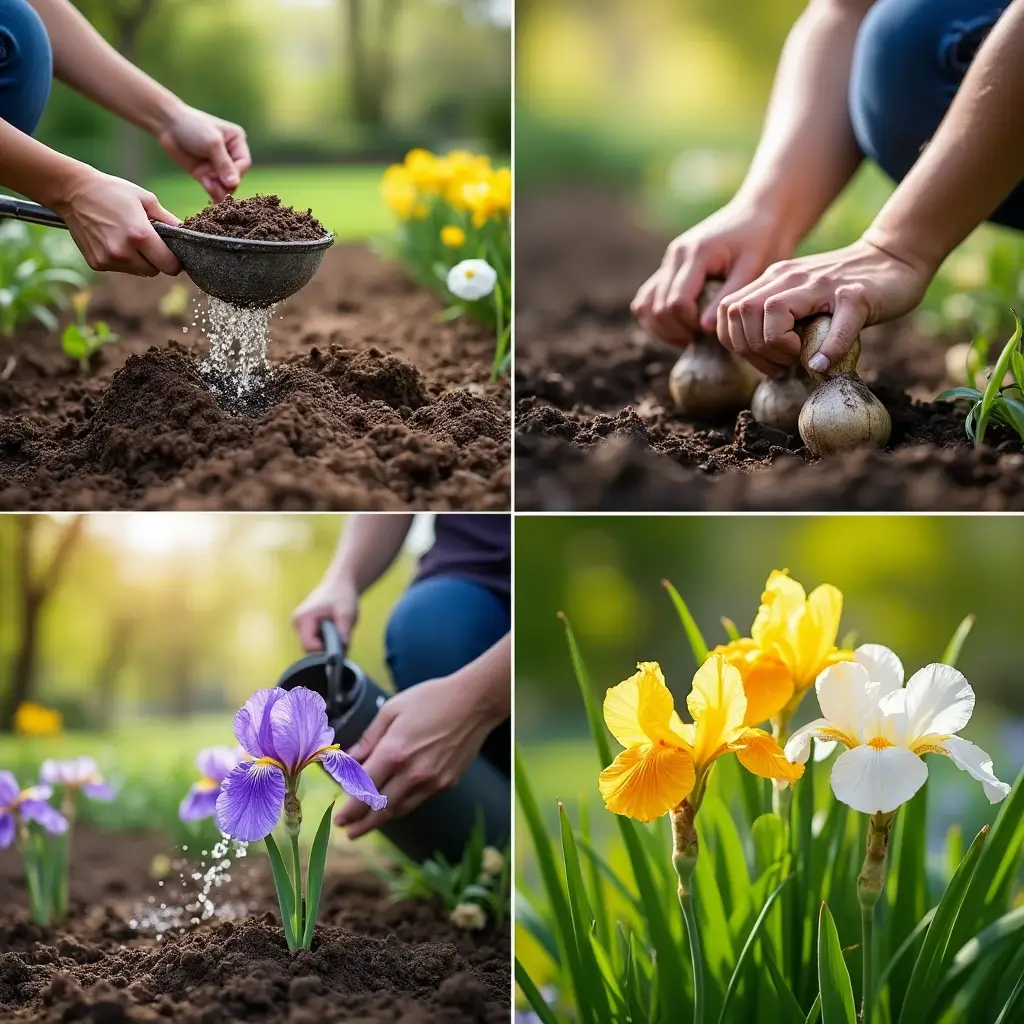
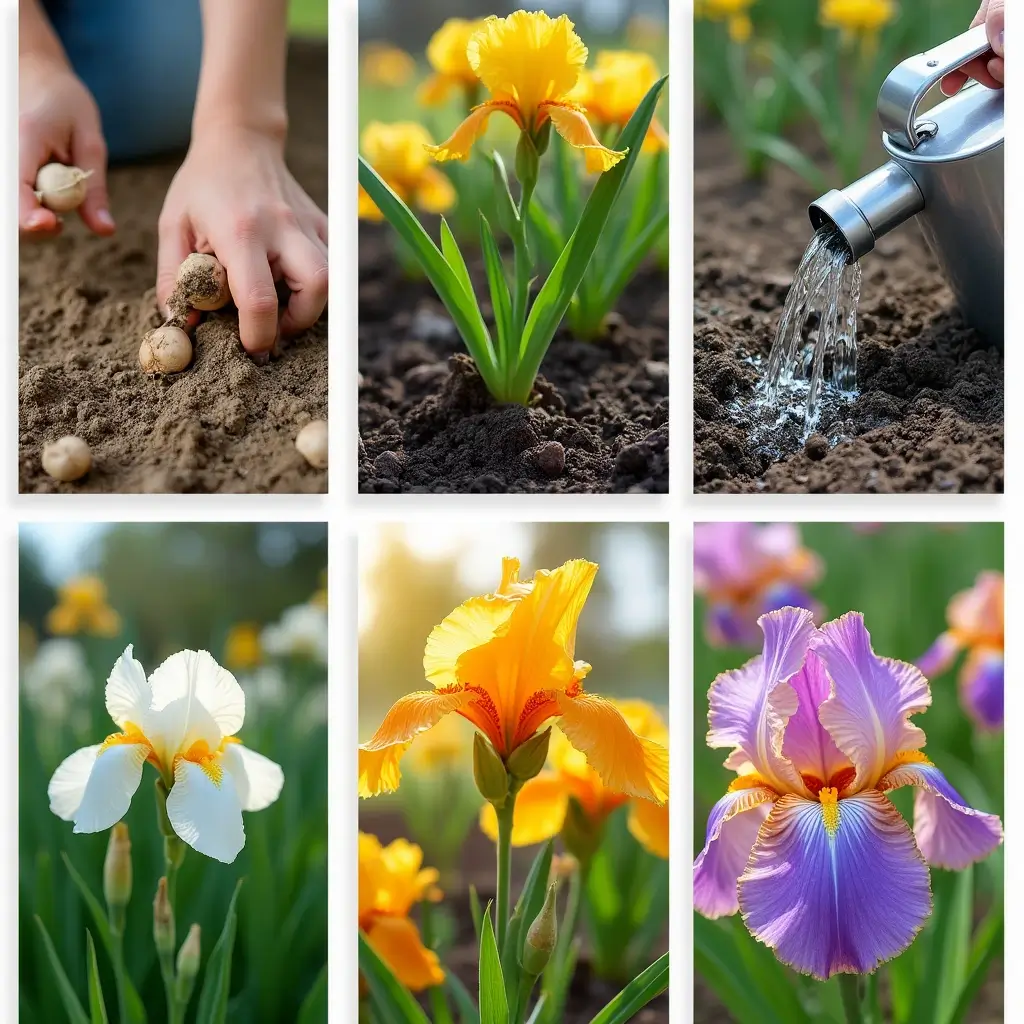
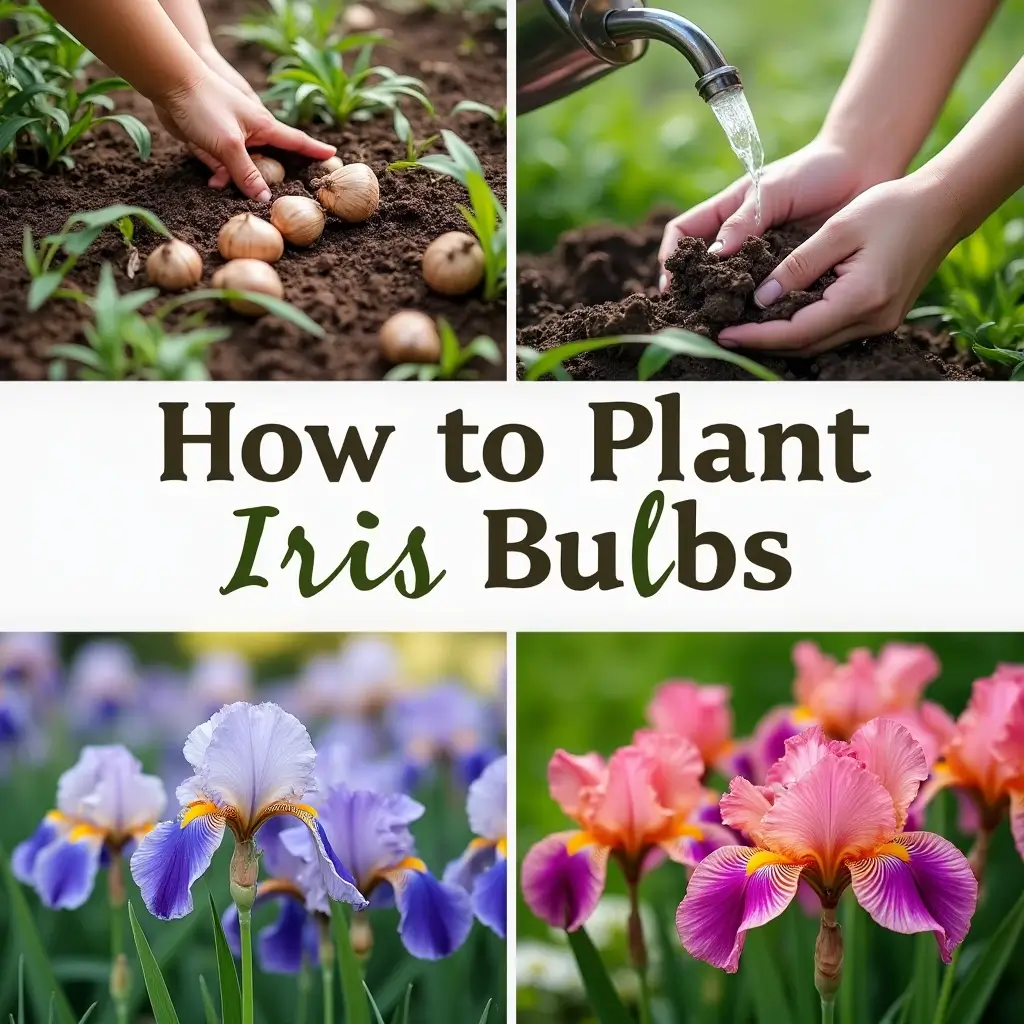
There’s something magical about the way irises unfurl their vibrant petals, transforming a garden into a colorful masterpiece. If you’re envisioning an enchanting garden filled with delicate blues, radiant purples, and sunny yellows, planting iris bulbs is a wonderful way to make that dream a reality. But, how exactly do you plant iris bulbs to ensure they thrive year after year?
Whether you’re a seasoned gardener or a beginner, understanding the correct way to plant, care for, and maintain iris bulbs is crucial for growing healthy, stunning blooms. In this detailed guide, we’ll walk you through the essential steps of planting iris bulbs, from choosing the right variety to preparing your soil and dealing with common challenges. By the end of this article, you’ll be equipped with the knowledge to create a beautiful iris-filled garden that will reward you with years of stunning blooms.
What Are Iris Bulbs? Understanding the Basics
Before diving into the planting process, let’s take a moment to explore what iris bulbs actually are. While the term “iris bulb” is commonly used, irises don’t technically grow from bulbs—they grow from rhizomes or corms, depending on the variety. These underground storage organs store nutrients and help the plant survive through the winter.
Types of Iris Bulbs
There are different types of irises, each offering a unique set of characteristics:
- Iris × hollandica: Often known as Dutch irises, these grow to a height of about 24-36 inches and bloom in late spring to early summer. Their colors range from soft blues to vibrant purples, yellows, and even bi-colored options.
- Iris reticulata: This variety is known for its smaller size, typically reaching only 6-8 inches in height. Iris reticulata blooms earlier in the spring, often heralding the start of the season with their delicate purple or blue flowers.
- Siberian Iris: Taller varieties that can grow up to 3 feet high, Siberian irises bloom in late spring. These are particularly hardy and thrive in a range of soil conditions.
- Japanese Iris: With large, showy flowers, Japanese irises grow well in moist, slightly acidic soil. They often bloom in early to mid-summer.
When Is the Best Time to Plant Iris Bulbs?

Timing plays a crucial role in the success of your iris bulbs. Planting them at the right time ensures that the rhizomes have time to establish their roots before the growing season begins, which leads to healthier plants and more vibrant blooms.
Ideal Planting Time
- Fall Planting (Recommended): The best time to plant most iris varieties is in the fall, particularly in September or October. This allows the rhizomes to establish a strong root system before the cooler months, ensuring they’re ready to bloom in the spring.
- Spring Planting: While fall is preferred, you can also plant iris bulbs in early spring if you missed the fall planting window. However, be aware that spring-planted irises may not bloom as early or as prolifically as those planted in the fall.
Adjusting for Climate
- Hot Climates: If you live in a region with hot summers, you may want to plant irises a bit deeper (around 6-8 inches) to protect them from the heat. Also, consider planting them in a location that receives some afternoon shade to prevent stress during the hottest months.
- Cold Climates: In colder regions, you’ll benefit from planting iris bulbs in the fall, allowing them to acclimatize to the winter chill, which can help trigger more robust blooms in the spring.
Preparing Your Garden for Iris Bulbs
The next crucial step in planting your iris bulbs is preparing your garden soil. Irises are relatively low-maintenance once planted, but they do need a few specific conditions to thrive. A bit of preparation will go a long way in helping your irises grow healthy and strong.
Soil Requirements
Irises prefer soil that is well-drained. If your soil is heavy or clay-like, consider amending it with coarse sand, compost, or gypsum to improve drainage. This is crucial because irises are prone to rot if their rhizomes sit in waterlogged soil.
- Ideal Soil pH: Irises prefer slightly acidic to neutral soil, with a pH of around 6.8. If your soil is too alkaline, you can lower the pH by adding sulfur or organic matter.
- Improving Soil Drainage: For optimal drainage, plant your irises on a slope or in raised beds. These conditions prevent water from collecting around the rhizomes, reducing the risk of rot.
Choosing the Right Spot
Irises thrive in full sunlight, so choose a spot in your garden that receives at least 6 hours of direct sunlight per day. The more sunlight they receive, the better their chances of producing those vibrant blooms. However, if you live in a particularly hot climate, some afternoon shade can help prevent the plants from becoming stressed.
How to Plant Iris Bulbs: A Step-by-Step Guide
Now that your garden is ready, it’s time to plant your iris bulbs! Follow these easy steps for successful planting:
Step 1: Select and Prepare Your Bulbs
Start by selecting high-quality iris rhizomes. Healthy rhizomes should be plump, firm, and free of any mold or rot. Avoid rhizomes that are soft, dried out, or damaged. Healthy bulbs will give your irises the best chance at thriving.
Step 2: Dig the Hole
Dig a hole that is about 6-8 inches deep (for most varieties) and wide enough to accommodate the rhizome comfortably. A good rule of thumb is to plant your irises with the top of the rhizome exposed above the soil surface.
- For a more natural look, you can create a small mound of soil in the center of the hole, allowing the rhizome to rest on top of the mound. This positioning ensures that the rhizome is not buried too deeply.
Step 3: Place the Bulbs
Position your rhizomes horizontally in the hole, with the top of the rhizome exposed. Spread the roots gently downward, ensuring they are facing downward in the hole. Avoid covering the rhizome completely with soil. Planting the rhizomes too deeply can result in poor blooming and increased risk of rot.
Step 4: Water the Bulbs
After planting, water the area thoroughly to settle the soil around the rhizomes. Be sure not to overwater, as too much water can lead to fungal diseases or rot. It’s important to keep the soil moist but not soggy.
Step 5: Mulch and Maintain
To keep weeds at bay and maintain moisture levels, you can add a thin layer of mulch around the planted bulbs. Just be sure not to pile the mulch directly over the rhizomes. As the plants grow, periodically check the mulch and replenish it as needed.
Caring for Iris Bulbs After Planting
Once your iris bulbs are planted, it’s essential to care for them properly to ensure they grow strong and healthy. Here’s what you need to know:
Watering
Irises need regular watering, especially during their active growing period in the spring. However, be mindful not to overwater them, as excess moisture can lead to root rot. The goal is to keep the soil evenly moist, not soaked.
Fertilizing
To encourage robust growth and vibrant blooms, it’s a good idea to feed your irises with a balanced fertilizer. Use a fertilizer with a balanced NPK ratio (nitrogen, phosphorus, and potassium) in early spring, just before they start to bloom.
- Fertilizing Tips:
- Apply the fertilizer around the base of the plants, not directly on the rhizomes.
- Avoid fertilizing in the fall, as this can promote excess growth that may not survive the winter.
Pruning and Deadheading
Once your irises have finished blooming, deadhead (remove spent flowers) to encourage continued blooming and to keep your garden looking tidy. Don’t prune the leaves too early; let them die back naturally, as this process allows the plant to store energy for the next season.

Common Mistakes to Avoid When Planting Iris Bulbs
Planting iris bulbs is relatively straightforward, but there are a few common mistakes that even experienced gardeners sometimes make. Here’s what you need to watch out for:
Mistake #1: Planting Too Deeply
One of the most common mistakes is planting the rhizomes too deep. The rhizomes should be placed just below the soil surface, not buried completely. Planting them too deep can result in poor flowering and may increase the risk of rot.
Mistake #2: Poor Drainage
Irises need well-drained soil. If you plant them in a spot where water tends to collect, you risk root rot and fungal diseases. Be sure to amend your soil with sand or compost if it’s too heavy, or plant your irises in raised beds or on a slope to improve drainage.
Mistake #3: Overcrowding
Although it’s tempting to plant a lot of irises close together for a quick visual impact, overcrowding can stunt their growth. Irises need plenty of space to spread out, so plant them at least 6-8 inches apart to allow for healthy growth.
Dividing and Replanting Iris Bulbs for Better Blooms
Iris bulbs need to be divided every 3-5 years to prevent overcrowding and encourage healthy growth. Here’s how to do it:
When to Divide
The best time to divide iris rhizomes is after they’ve finished blooming, typically in late summer or early fall. This gives the rhizomes time to establish roots before the next growing season.
How to Divide
- Carefully dig up the rhizomes.
- Separate the healthy rhizomes from those that are damaged or diseased.
- Replant the healthy rhizomes, ensuring they have enough space to grow.
Troubleshooting: Common Iris Problems and How to Fix Them
While irises are generally easy to care for, they can be susceptible to a few issues, including pests, diseases, and environmental stress. Here’s how to handle some common problems:
Pests
- Aphids: These tiny insects can damage the foliage. Spray them off with a strong jet of water or use insecticidal soap.
- Slugs and Snails: These pests can damage young irises. Use slug pellets or set up beer traps to keep them away.
Diseases
- Iris Rust: A fungal disease that causes orange pustules on the leaves. Remove affected leaves and dispose of them to prevent the spread.
- Bacterial Soft Rot: Caused by too much moisture, this disease leads to mushy, foul-smelling rhizomes. Ensure good drainage and avoid overwatering.
FAQ: How to Plant Iris Bulbs
1. What is the best time to plant iris bulbs?
The best time to plant iris bulbs is in fall, typically in September or October. This gives the rhizomes time to establish a strong root system before winter, ensuring that they are ready to bloom in the spring. In warmer climates, you can also plant them in early spring as soon as the ground is workable. However, fall planting is generally preferred for most iris varieties because it allows them to go through their natural winter dormancy, which encourages better blooming the following year.
2. Should I soak iris bulbs before planting?
No, it’s not necessary to soak iris bulbs (rhizomes) before planting. Unlike some other bulbs, iris rhizomes do not require soaking and can be planted directly in the soil. In fact, soaking can sometimes increase the risk of rot if the soil is too wet. Instead, simply plant your rhizomes in well-drained soil with the top of the rhizome exposed and water them lightly after planting to help settle the soil.
3. How many iris bulbs should I plant together?
The ideal spacing for iris bulbs is 6 to 12 inches apart, depending on the variety. Larger iris varieties, like the Dutch iris, should be spaced farther apart, around 12 inches. Smaller varieties, such as Iris reticulata, can be planted closer together, about 6 inches apart. Planting your irises too close together can result in overcrowding, which leads to poor air circulation, increased susceptibility to disease, and less vibrant blooms. For a more natural look, you can plant them in small clusters, but always ensure they have room to grow and spread.
4. Where is the best place to plant iris bulbs?
The best place to plant iris bulbs is in a sunny location that receives at least 6 hours of direct sunlight per day. Irises thrive in full sun, which promotes strong growth and abundant flowering. Additionally, ensure the soil is well-drained, as irises are prone to rot in soggy, waterlogged soil. If you have heavy or clay soil, consider planting your irises on a raised bed or a slope to improve drainage. They can also be planted near the edges of garden beds, in rock gardens, or even in container gardens as long as the drainage is excellent.
Conclusion: Enjoy the Beauty of Your Iris Garden
Planting iris bulbs is a rewarding and relatively easy task that will transform your garden into a blooming paradise. With the right timing, soil preparation, and care, you can grow irises that will grace your garden with stunning colors for years to come.
Start by selecting the right bulbs, plant them at the right depth, and make sure they have the right conditions to thrive. By following these steps and avoiding common mistakes, you’ll soon be rewarded with an iris-filled garden that bursts into bloom each spring, bringing joy and beauty to your outdoor space.
Get started today by planning your iris garden and planting your bulbs this fall for a colorful, blooming future!


