Amaryllis flowers are the epitome of elegance and grandeur. Their large, trumpet-shaped blooms are among the most stunning indoor flowers you can grow, especially in the colder months when you’re craving a burst of color. Whether you’re a seasoned gardener or this is your first time growing a bulb, planting amaryllis is an incredibly satisfying process that’s easy to master. With just a few simple steps, you can watch as your amaryllis bulbs transform into vibrant, show-stopping flowers that brighten up your home for weeks.
In this guide, you’ll learn how to plant amaryllis bulbs effectively, care for them through their growth cycle, and even get them to bloom again year after year. With expert tips, helpful insights, and a breakdown of each step, you’ll be ready to grow beautiful amaryllis in no time.
Why Amaryllis Bulbs Are a Must-Have for Your Indoor Garden
Amaryllis bulbs are an excellent choice for your indoor garden for several reasons. Apart from being incredibly easy to plant and care for, they also bloom quickly, providing you with months of color and joy in your home. If you’re looking for a plant that can bring beauty and warmth during the winter or early spring months, amaryllis is an ideal candidate.
- Quick and Easy to Grow: Amaryllis bulbs require minimal maintenance, making them perfect for beginners.
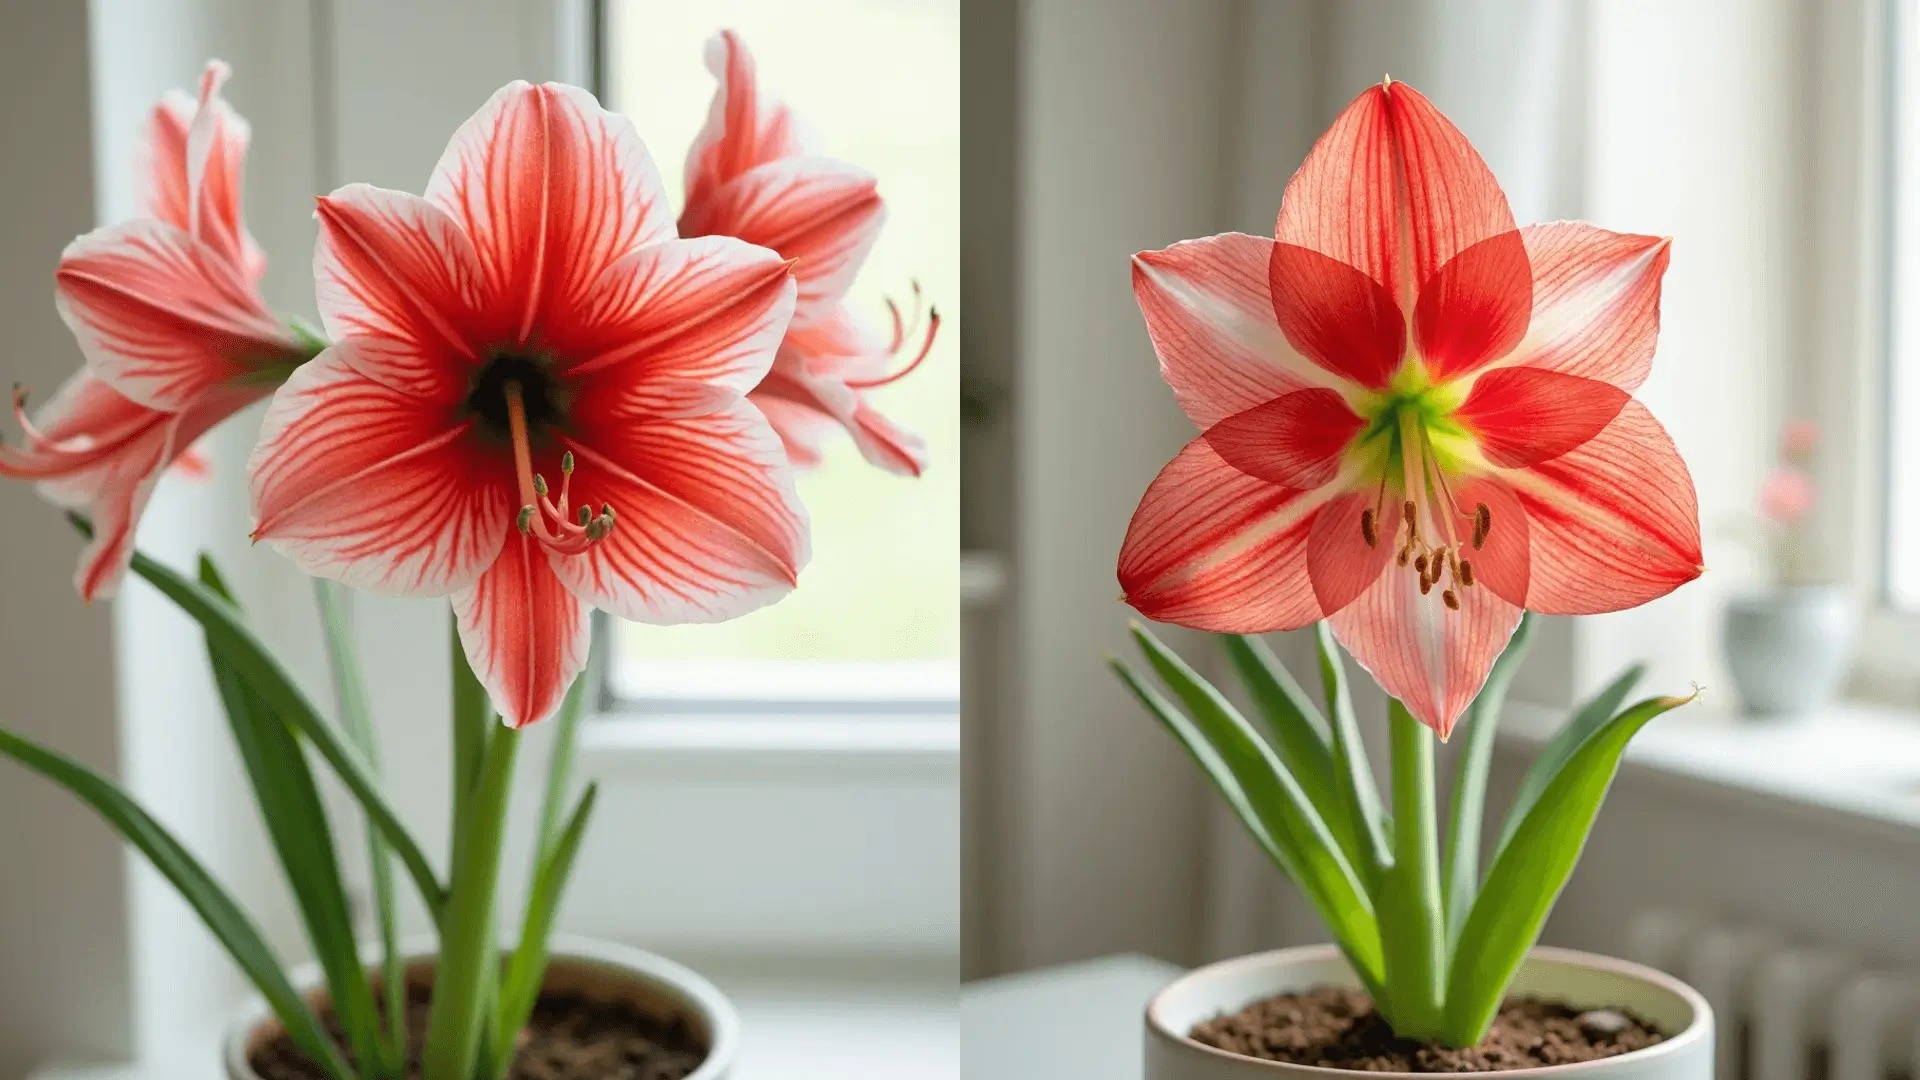
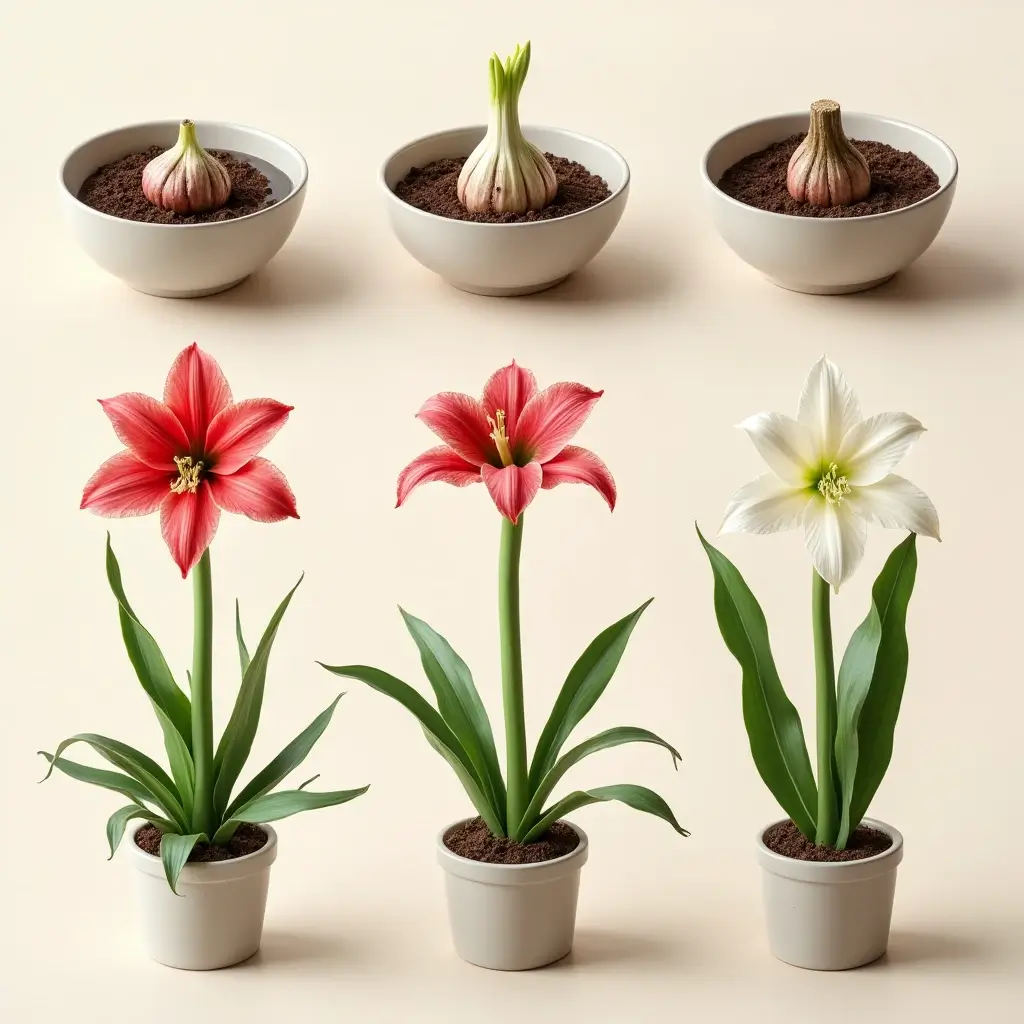
- Beautiful Blooms: With their bold, trumpet-shaped flowers in colors ranging from red and white to pink, orange, and even green, amaryllis bulbs provide a dramatic floral display that can last for several weeks.
- Gifting and Decoration: Amaryllis makes a fantastic gift and a beautiful decoration for the holiday season.
The best part? You don’t need a green thumb to enjoy these magnificent flowers. Follow the right steps, and you’ll have a thriving plant in no time!
When is the Best Time to Plant Amaryllis Bulbs?
Timing plays a crucial role in getting your amaryllis to bloom at just the right moment. While amaryllis can be planted anytime during the year, for a holiday display or springtime bloom, planting at the right time is essential.

- Best Planting Time for Holiday Blooms (Christmas): If you want your amaryllis to bloom around the Christmas holidays, aim to plant the bulbs in mid-to-late September. This gives the plant enough time to bloom in 6-8 weeks.
- For Spring Blooms: If you want a burst of flowers in spring, plant your bulbs in November or December for blooms around late winter or early spring.
Planting Timeline
| Planting Date | Expected Bloom Time |
|---|---|
| October 15 | November 19 – December 10 |
| November 1 | December 6 – 27 |
| November 15 | December 20 – January 10 |
| December 1 | January 6 – 28 |
| December 15 | January 19 – February 9 |
| January 1 | February 6 – 26 |
| January 15 | February 19 – March 12 |
| February 1 | March 8 – 29 |
By following the suggested planting dates, you can ensure that your amaryllis will bloom right when you need it.
How to Choose the Right Pot and Soil for Amaryllis Bulbs
The right pot and soil can make all the difference in the successful growth of your amaryllis. Let’s break down the key elements for choosing the ideal container and soil for your bulbs.
Choosing the Perfect Pot for Amaryllis
- Pot Size: When planting amaryllis bulbs, choose a pot that is 6-8 inches in diameter. It should be large enough to accommodate the bulb but not too large, as amaryllis bulbs thrive when they’re somewhat pot-bound.
- Heavy Pots: Opt for a sturdy, heavy pot to prevent it from tipping over as the blooms can become quite large and heavy. Light plastic pots are less stable and can easily fall over under the weight of the flowers.
- Drainage: Amaryllis bulbs need well-draining soil to avoid root rot. Make sure the pot has a drainage hole at the bottom so excess water can escape.
Selecting the Right Soil for Amaryllis
- Well-Draining Mix: Amaryllis bulbs need a loose, well-draining soil mix. It’s best to use a high-quality potting mix that’s designed for flowering plants. Adding perlite or sand to the mix can enhance drainage and prevent waterlogging.
- Avoid Garden Soil: Don’t use garden soil, as it doesn’t drain well and can lead to fungal issues.
- pH Level: Aim for a slightly acidic to neutral pH (around 6.0–7.0) for optimal growth.
Step-by-Step Guide: How to Plant Amaryllis Bulbs
Now that you have the perfect pot and soil, let’s dive into the planting process. The steps are straightforward, and with a little care, you’ll soon see your amaryllis bulbs sprouting and blooming beautifully.
Step 1: Soak the Bulb (Optional)
- Soaking Amaryllis Bulbs: Soaking your amaryllis bulbs in warm water for 2-3 hours can help hydrate them and speed up the growth process. This step isn’t strictly necessary, but it can help the bulb break dormancy faster and get a head start.
Step 2: Prepare the Pot
- Fill your chosen pot with about half of the well-draining soil mix.
- Create a small hole in the center of the soil to accommodate the bulb. The hole should be just large enough to fit the bulb comfortably.
Step 3: Plant the Bulb
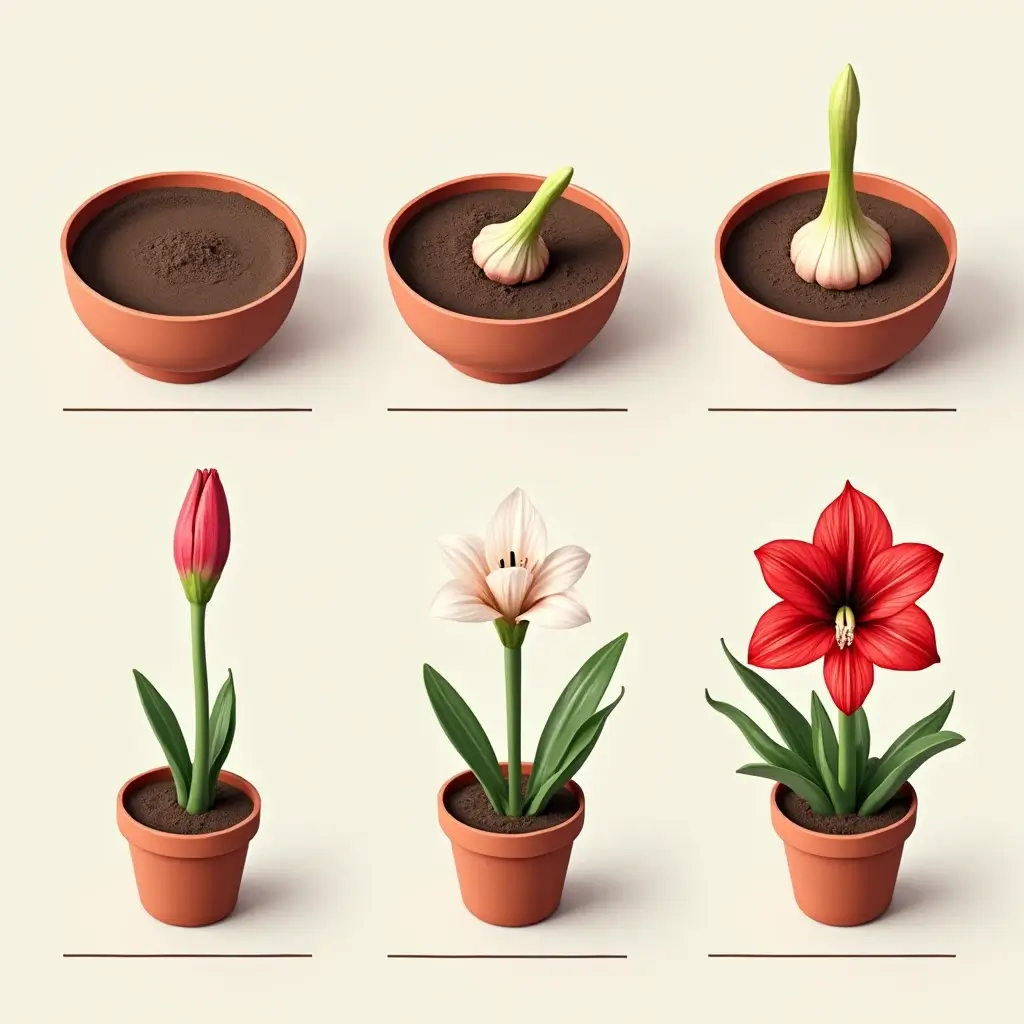
- Position the Bulb: Place the amaryllis bulb with the pointed end facing upwards. The bulb should be positioned so that one-third of it is above the soil line.
- Fill the Pot: Gently fill the pot around the bulb with the remaining soil, pressing it down lightly to secure the bulb in place.
Step 4: Watering
- Initial Watering: Water sparingly just enough to settle the soil. Don’t overwater at this stage as the bulb is still dormant.
- After Growth Begins: Once you see about 2 inches of new growth, increase watering, ensuring the soil remains moist but not soggy. Always ensure the pot has good drainage.
Step 5: Placement
- Ideal Location: Place the pot in a warm area with bright, indirect sunlight. A spot near a south or west-facing window is perfect.
- Temperature: Amaryllis bulbs prefer warm temperatures between 60°F (15°C) and 70°F (21°C).
Caring for Your Amaryllis During Growth and Bloom

As your amaryllis bulb grows, it’s important to provide the right care to help it thrive. Here’s how to keep your plant healthy throughout its growing cycle.
Watering and Feeding
- Watering: Amaryllis prefer consistent moisture. Keep the soil lightly moist but never waterlogged. If the soil is too dry, the bulb may not bloom properly.
- Feeding: Once the plant starts growing, feed it with a balanced liquid fertilizer every 2-4 weeks. This will ensure your plant has the nutrients it needs for strong growth and vibrant blooms.
Encouraging Strong Flower Stalks
- Turn the Pot: Rotate the pot every few days to ensure the flower stalks grow straight and tall. This is especially important for taller varieties that might bend or lean towards the light.
- Support Stalks: Once your amaryllis flowers begin to bloom, the flower stalks may need support. Use a cane or stake to help hold the stalks upright, especially if the flowers are large or heavy.
Common Problems and Solutions
- Drooping Flower Stalks: If your flower stalk is leaning or drooping, the plant may be growing in too much heat. Consider moving it to a cooler location with brighter indirect light.
- Yellow Leaves: This could be a sign of overwatering or underwatering. Check that your pot has good drainage and avoid letting the bulb sit in water.
How to Make Your Amaryllis Bloom Again Next Year
After the stunning blooms fade, don’t throw away your amaryllis bulb! With proper care, you can make it bloom year after year.
Post-Bloom Care
- Cut Back the Stalks: Once the flowers are spent, carefully trim the flower stalk to about 1 inch above the bulb. This helps the plant focus its energy on the leaves and bulb.
- Continue to Care: Keep watering and fertilizing the plant to help it grow strong leaves. These leaves will provide energy to the bulb for the following year’s bloom.
Inducing Dormancy
- Stop Watering: In late summer, stop watering your amaryllis. Allow the leaves to naturally yellow and die back. This signals that the plant is entering its dormant phase.
- Store the Bulb: Once the leaves have died back, store the bulb in a cool, dark, and dry place for 6-8 weeks. During this rest period, the bulb will build up energy for the next bloom cycle.
Repotting for New Growth
- Repot the Bulb: After dormancy, replant the bulb in fresh, well-draining potting soil. Place the pot in a bright location, and resume watering sparingly at first. Once you see new growth, you can increase watering and enjoy another round of beautiful blooms.
Frequently Asked Questions about Planting Amaryllis Bulbs
1. When should amaryllis bulbs be planted?
Amaryllis bulbs should be planted at the right time to ensure a vibrant floral display. For indoor blooms during the holiday season, plant your amaryllis bulbs in mid to late September. This gives the bulbs about 6-8 weeks to bloom in time for Christmas. If you prefer blooms at a later time, such as for Easter, you can plant them a bit later, following the same 6-8 week bloom schedule.
2. Should I soak amaryllis bulbs before planting?
Yes, soaking your amaryllis bulbs before planting is recommended. Soak the bulb for 2-4 hours in tepid water to rehydrate the roots. This helps jump-start the growth process and ensures that the bulb has the moisture it needs to thrive once planted. Avoid soaking for too long, as this could cause the bulb to rot.
3. How do you prepare an amaryllis bulb for planting?
Preparing your amaryllis bulb for planting involves a few simple steps:
- Inspect the bulb: Choose healthy, firm bulbs without any mold, bruises, or soft spots.
- Soak the bulb (optional but recommended): As mentioned, soak your amaryllis bulb in water for 2-4 hours to rehydrate it before planting.
- Choose the right pot: Select a pot that is 2-3 inches larger than the bulb’s diameter. Amaryllis prefer being somewhat pot-bound.
- Prepare the soil: Use well-draining potting soil mixed with some grit or perlite for extra drainage.
- Plant the bulb: Place the bulb in the pot with the pointed end facing up. Ensure that one-third of the bulb remains above the surface of the soil.
4. Do amaryllis like sun or shade?
Amaryllis prefer bright, indirect light. They should be placed in a location that receives plenty of light but is not in direct sunlight, which can scorch the leaves or cause the plant to dry out too quickly. A bright windowsill or a spot with filtered light works best. In winter, when the light is less intense, it’s even more important to ensure the plant gets ample light to encourage healthy growth and blooming.
Conclusion: Growing Amaryllis Bulbs Made Easy
Growing amaryllis bulbs is an incredibly rewarding and easy process. With just a bit of care and attention, you can enjoy a stunning floral display in your home, even in the coldest months of the year. By following these steps, you can ensure that your amaryllis bulbs not only bloom beautifully but also thrive for years to come. Don’t wait—plant your amaryllis bulbs today and watch the magic unfold!
Have you planted amaryllis bulbs before, or are you giving them a try for the first time? Share your thoughts, tips, and experiences in the comments below!


