Growing potatoes in a bag is an innovative and space-saving way to cultivate these delicious, nutrient-rich vegetables right in your own backyard, patio, or balcony. Whether you’re limited by space or simply looking for a new gardening challenge, this method offers many benefits. In this guide, we’ll walk you through everything you need to know to successfully plant potatoes in a bag—from choosing the right supplies to harvesting your spuds and storing them for later.
Let’s dig in and get started on your potato-growing journey!
Why Choose Grow Bags for Planting Potatoes?
When it comes to planting potatoes, many gardeners turn to grow bags as a practical and efficient solution. Grow bags are an ideal option for those with limited space or who prefer container gardening. Here are some reasons why you should consider planting potatoes in a grow bag:
1. Ideal for Small Spaces
If you live in an apartment or have limited outdoor space, grow bags allow you to grow potatoes on a balcony, rooftop, or patio. By using vertical space, they’re perfect for urban gardeners who want to grow their own food but lack traditional garden beds.
2. Better Soil Aeration
Potatoes need well-aerated soil to grow properly. Grow bags, especially fabric ones, allow air to reach the roots, preventing them from becoming waterlogged. This is particularly important because compacted soil can hinder potato development.
3. Easy Maintenance
In a grow bag, it’s easier to control soil quality and moisture levels. The fabric material breathes, which helps prevent root rot and overwatering. Additionally, you can move the bags around to ensure they get the best sunlight throughout the day.
4. No Need for Digging
One of the best things about growing potatoes in bags is that you won’t have to dig into the ground to harvest. Once the plants have matured, you simply empty out the bag to gather your harvest—making the process less labor-intensive and much cleaner.
5. Pest and Disease Control
In traditional garden beds, pests like aphids, potato beetles, and soil-borne diseases such as blight can wreak havoc on your potato plants. When growing potatoes in bags, you can better control the growing environment and avoid these issues. Plus, it’s easier to keep an eye on the health of your plants.

Choosing the Right Grow Bag for Potatoes
Selecting the right grow bag is a critical first step in ensuring a successful potato harvest. Here’s what to look for when choosing the perfect grow bag for your potatoes:
1. Size of Grow Bag
Potatoes need space to grow, so it’s important to choose a grow bag that can accommodate them. A typical grow bag size for potatoes ranges from 10 to 20 gallons. Larger bags provide more room for tuber expansion, leading to a bigger harvest. If you’re planting multiple seed potatoes, opt for a 20-gallon bag.
2. Material: Fabric vs. Plastic
There are two main types of grow bags: fabric and plastic. While plastic bags are less expensive, fabric bags have several advantages, including:
- Better Drainage: Fabric bags are breathable, allowing excess moisture to escape and preventing root rot.
- Durability: High-quality fabric grow bags can withstand outdoor conditions and last for several seasons.
- Root Health: Fabric bags promote healthier roots by allowing them to “air prune,” which prevents the roots from becoming root-bound.
For potatoes, fabric grow bags are generally the better option as they provide better aeration and drainage, which are essential for growing healthy, disease-free tubers.
3. Drainage Holes
Proper drainage is crucial when growing potatoes, as they are susceptible to root rot if they sit in waterlogged soil. Choose grow bags with drainage holes, or you can easily make your own by poking a few holes in the bottom of the bag. This ensures that excess water escapes and the roots have a chance to breathe.
Selecting and Preparing the Soil for Growing Potatoes
Potatoes thrive in loose, well-draining soil that’s rich in organic matter. When growing them in a bag, you’ll want to make sure you’re using the right type of soil. Here’s how to prepare the soil for optimal potato growth:
1. Best Soil Mix for Potatoes
The ideal soil for potatoes should be:
- Loose: Potatoes need room to expand, so your soil mix should be light and airy.
- Well-Draining: Since potatoes are prone to rot, it’s crucial that the soil drains well. Avoid compacted soil.
- Rich in Organic Matter: Potatoes benefit from rich, nutrient-dense soil. Use compost or well-aged manure to enhance soil fertility.
A recommended soil mix for growing potatoes in bags includes:
- 50% compost
- 25% garden soil
- 25% perlite or vermiculite (for aeration)
This mix ensures the soil is both nutrient-rich and well-draining, promoting healthy potato growth.
2. Soil pH for Potatoes
Potatoes prefer slightly acidic soil with a pH range of 5.5 to 6.5. If your soil is too acidic or alkaline, your potatoes may struggle to grow. You can test the pH of your soil using a simple soil test kit. If your soil is too acidic, you can raise the pH by adding lime. If it’s too alkaline, sulfur can help lower it.
How to Plant Potatoes in a Bag
Now that you have the right grow bags and soil mix, it’s time to plant your seed potatoes. Follow these steps to ensure a successful planting:
1. Choosing Seed Potatoes
Start with certified seed potatoes to avoid introducing diseases into your garden. Seed potatoes are small, sprouted tubers specifically grown for planting. You can find them at most garden centers or online.
Popular varieties to consider include:
- Yukon Gold: A versatile variety known for its creamy texture.
- Russet: The classic choice for mashed potatoes and fries.
- Red Pontiac: Known for its smooth, waxy texture.
Before planting, allow your seed potatoes to “chit” or sprout. To do this, place the potatoes in a cool, dry area with good light for 2-4 weeks. The small “eyes” on the potato will begin to sprout and grow shoots. These sprouts are the beginning of your new potato plants.
2. Planting Depth and Spacing
When planting potatoes in a grow bag, aim to plant your seed potatoes about 4-6 inches deep. This allows the tubers to develop properly without being too close to the surface, where they could be exposed to sunlight.
Space the seed potatoes about 12 inches apart within the bag to ensure that each potato has enough room to grow.
3. Planting Process
Now that you have your seed potatoes ready, follow these steps:
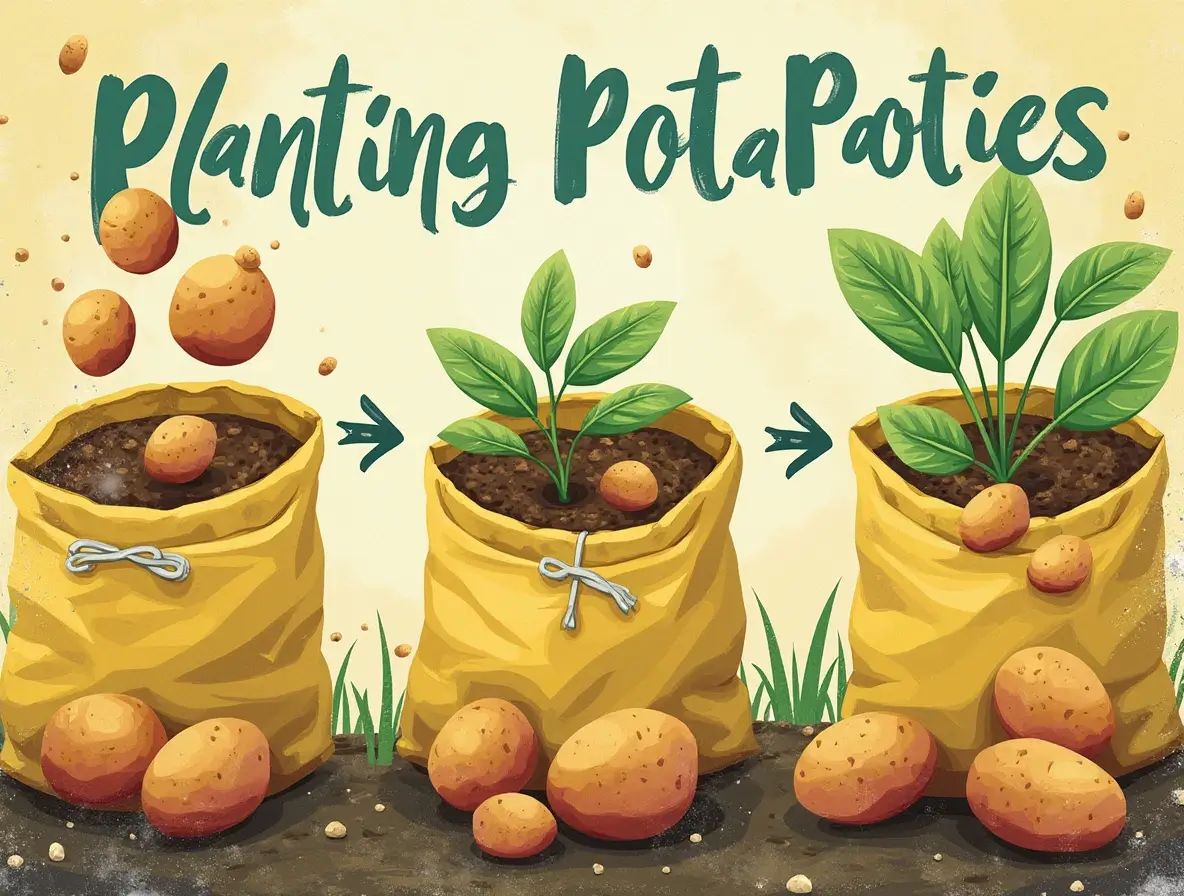
- Fill the Grow Bag: Begin by adding 4-6 inches of soil into the bottom of the grow bag.
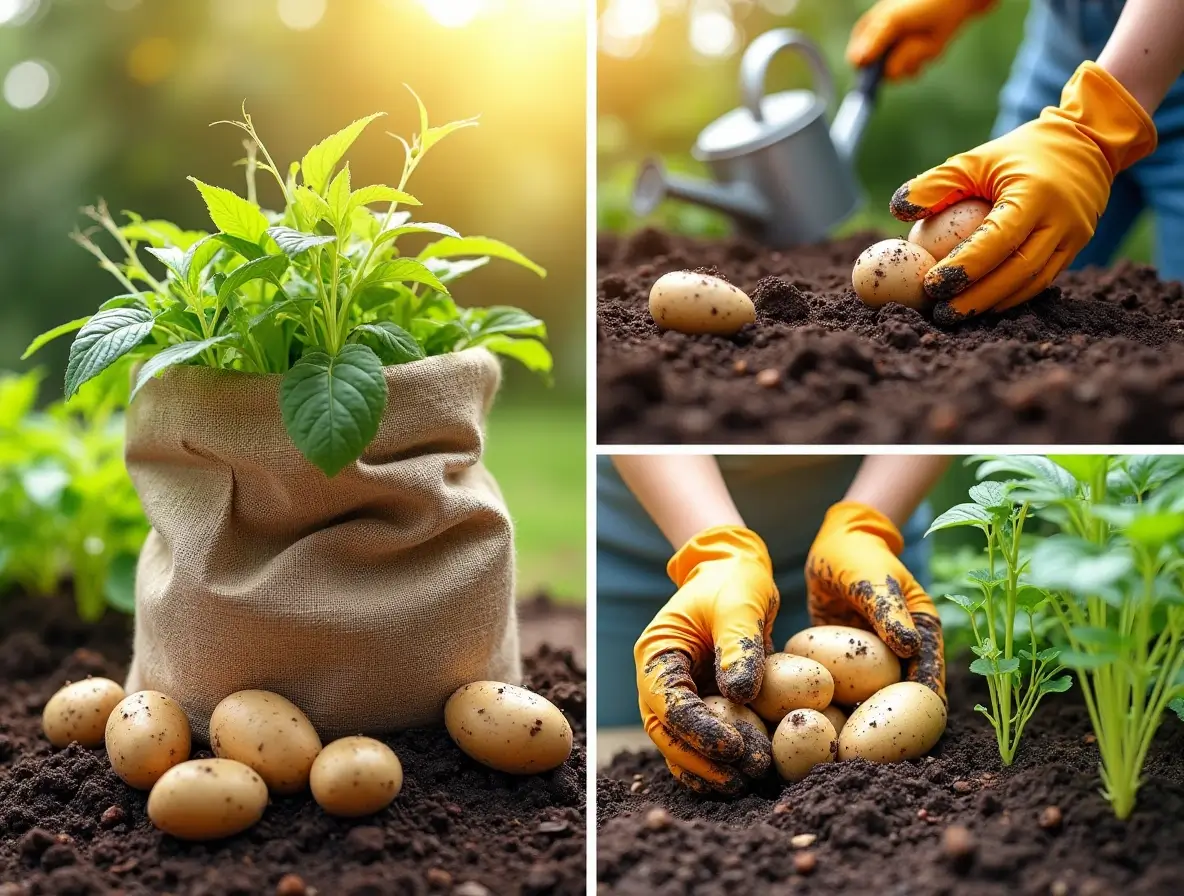
- Place the Seed Potatoes: Lay the seed potatoes on top of the soil, with the sprouts (eyes) facing up.
- Cover with Soil: Add more soil on top of the seed potatoes until they’re covered by 4-6 inches of soil.
- Leave Space for Hilling: Leave some space at the top of the bag for “hilling” as the plants grow.
Caring for Potatoes in a Grow Bag
Once your potatoes are planted, the next step is to care for them as they grow. Here’s how to keep your plants healthy and maximize your harvest:
1. Watering
Potatoes need consistent moisture, but they don’t like to sit in soggy soil. Make sure the soil stays evenly moist, but not overly wet. Water the plants whenever the top inch of soil feels dry.
A drip irrigation system can be a great way to ensure consistent watering. Alternatively, use a watering can or hose with a gentle spray to avoid disturbing the soil.
2. Sunlight Requirements
Potatoes need full sunlight—at least 6-8 hours per day. Choose a spot for your grow bags where they will receive ample sunlight. If you’re growing indoors or in a shaded area, consider moving the bags throughout the day to optimize sunlight exposure.
3. Hilling
As your potato plants grow, you’ll need to “hill” them. This involves adding more soil to the bag as the plant grows taller, covering the lower stems and encouraging the production of more tubers.
Hilling should be done gradually. When the plants reach about 8-10 inches tall, add another 4-6 inches of soil to the bag. Repeat this process every few weeks as the plants continue to grow.
4. Fertilization
Fertilize your potatoes once a month with a balanced, slow-release fertilizer or organic compost. Too much nitrogen can result in excessive foliage growth at the expense of tuber production, so choose a fertilizer with balanced nutrients.
Common Potato Growing Problems and How to Solve Them
Like any plant, potatoes are susceptible to pests and diseases. Here are some common issues you might encounter and how to deal with them:
1. Pests
Common potato pests include:
- Potato beetles: These can be controlled with neem oil or insecticidal soap.
- Aphids: These tiny insects can be removed by spraying the plants with water or a mild soap solution.
2. Potato Blight
Potato blight is a fungal disease that can cause the leaves to yellow and rot. To prevent this, avoid watering the foliage and ensure the plants have good air circulation. You can also use fungicides if necessary.
3. Green Potatoes
If potatoes are exposed to direct sunlight, they can turn green, which makes them inedible due to the presence of solanine (a toxic compound). To avoid this, keep the potatoes well-covered with soil or mulch and avoid leaving them exposed.
Harvesting Potatoes from a Grow Bag
After months of care, it’s finally time to harvest your potatoes. Here’s how to do it:
1. When to Harvest
The best time to harvest potatoes is when the plants begin to yellow and die back. This indicates that the tubers have reached maturity. You can also check by gently digging around the base of the plant to see if the potatoes are the desired size.
2. How to Harvest
To harvest your potatoes, carefully empty the grow bag onto a tarp or large container. Gently sift through the soil to collect the potatoes. Be careful not to damage the tubers with sharp tools.
3. Storing Your Potatoes
Once harvested, allow your potatoes to cure by storing them in a cool, dark place for 2-3 weeks. This helps toughen the skin and extend their shelf life. After curing, store them in a cool, dry, and dark area for the long term.

Tips for a Successful Potato Harvest in Bags
Here are a few additional tips to ensure your potato-growing experience is a success:
1. Companion Plants
Consider planting companion plants that can help deter pests or promote healthy growth. Basil and marigolds are great options for planting near potatoes as they can help repel harmful insects.
2. Crop Rotation
Don’t plant potatoes in the same bags year after year. Rotate crops each season to reduce the buildup of pests and diseases in the soil.
3. Reusing Grow Bags
At the end of the season, clean your grow bags thoroughly before reusing them. This helps prevent the spread of diseases and pests from one growing season to the next.
Frequently Asked Questions (FAQs)
1. Can I grow potatoes in a grow bag indoors?
Yes, you can grow potatoes in a grow bag indoors as long as they receive adequate sunlight. Potatoes need 6-8 hours of direct sunlight per day to grow well. If you don’t have a sunny window, consider using grow lights to supplement the light. Make sure to choose a location that is cool and well-ventilated to avoid problems with overheating or excess humidity.
2. How often should I water my potatoes in a grow bag?
Potatoes grown in bags need regular watering to keep the soil moist but not waterlogged. The general rule of thumb is to water when the top inch of soil feels dry. In warmer climates, this may mean watering every other day or more often. In cooler climates, watering once a week may suffice. Drip irrigation systems are an excellent way to ensure consistent moisture.
3. How many potatoes can I plant in one grow bag?
The number of potatoes you can plant in a single grow bag depends on its size. For a 10- to 20-gallon bag, you can typically plant 3-5 seed potatoes spaced about 12 inches apart. Be sure to leave space for hilling as the plants grow. For larger bags, you can plant more, but always ensure that each potato has enough room for healthy growth and tuber development.
4. Why are my potatoes turning green in the grow bag?
Potatoes turn green when they are exposed to too much sunlight. The green color indicates the presence of solanine, a toxic compound that makes the potatoes unsafe to eat. To prevent this, make sure to cover the potatoes completely with soil as they grow. If they start to peek through the soil, add more soil or mulch to shield them from the light.
5. Can I reuse the soil in my potato grow bag next season?
It’s generally not recommended to reuse the same soil from your potato grow bag for the next season. Soil can become depleted of nutrients, and leftover potato diseases or pests could affect the new crop. If you choose to reuse the soil, mix it with fresh compost or organic matter to rejuvenate it. Also, consider rotating your crops to avoid soil-borne diseases and pests that could persist in the soil.
Conclusion
Growing potatoes in a bag is an easy and rewarding way to enjoy homegrown potatoes, especially if you have limited space or want to avoid the hassle of traditional garden beds. By following the steps outlined above—choosing the right grow bags, preparing the soil, planting the potatoes, and caring for them throughout the growing season—you can harvest a bountiful crop of delicious potatoes.
Don’t forget to share your potato-growing success stories in the comments section below. Happy gardening!


